There are a few prepper hacks to get the most out of the food you are storing. You don’t want to spend all that money buying rice, beans and other rations, only to have them spoil, get infested with bugs or eaten by mice.
Using Mylar bags is the key to securely storing dry goods for years.
Mylar bags are made in various sizes using BoPET, a thick polyester material that blocks oxygen, moisture, aromas, light and pests. Only the most determined rodents will be able to chew through the bags. It’s not impossible, but it’s far more robust than a flimsy plastic bag that provides no defense against critters. The bags can be heat sealed to keep out moisture.
My preference are to use smaller sizes of Mylar bags. This allows me to store my beans and other foods in meal sized portions. Once a seal is broken, the food is exposed to light and oxygen, and this starts the process of decay. My rule is that if I can’t use the product within a week, I don’t open a sealed bag.
| Key takeaways: • Squeeze out as much air as possible out of the bag and always use oxygen absorbers • You can use a clothing iron to seal the Mylar bags • Add a bay leaf as an extra measure to repel pests |
Tools You’ll Need
Mylar bags – you can find them on Amazon. They come in a variety of sizes. You’ll save money buying in bulk.
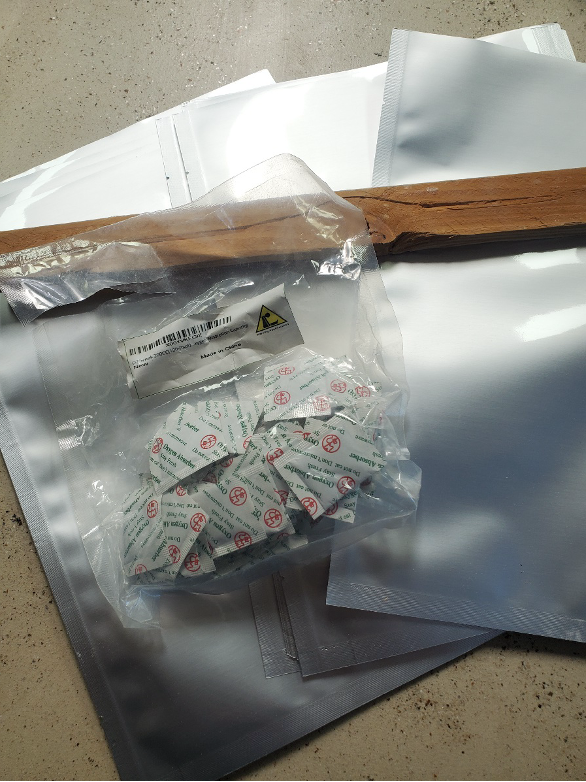
Oxygen absorbers/desiccant bags – these also come in various sizes. Buy in bulk as you’ll use many of them. I store my desiccant bags inside a mason jar sealed to keep oxygen from getting in.
Bay leaves – a personal preference to add another layer of protection against bug infestation. Bugs seem to hate them.
Clothing Iron – to seal your bags. I have not personally tried a FoodSaver sealer, but it would also do the trick.
Wooden stick – I used a paint stick in the past as well as a basic garden stake.
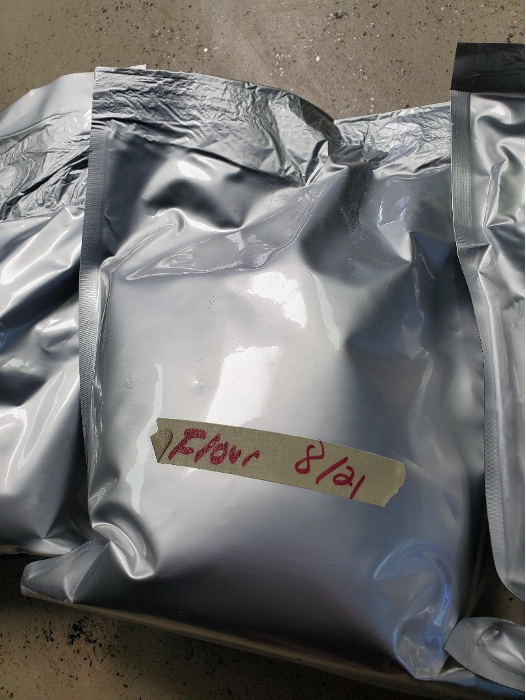
Freezer tape or duct tape and a marker to label bags.
Five-gallon food-grade buckets with lids – this isn’t entirely necessary, but it’s a great way to store your bags and once again, more protection.
How to Seal Your Mylar Bags
- If you’ve bought in bulk, decide how much product you’re going to put into each bag. Two to three cups of rice/beans/flour or whatever is a good starting point. You’ll need plenty of room at the top to roll the Mylar bag a couple of times for the heat-sealing process. You might choose to do smaller portions in order to allow for the bags to lay flat.
- Add a bay leaf (if you choose to go this route) to the bottom of the bag. Add a cup or two of product and toss in a desiccant bag. Add another cup to the top and another oxygen absorber.
- Your iron should be on the cotton or highest setting. I prefer to put down a dish towel to protect my countertops. Place the paint stick flat against the bag about two inches down and fold the top of the bag over the stick. Your iron will be placed directly on the Mylar with the stick on the underside to give you a flat surface. If your bag is half-full, seal the bag as close to the top of your ingredients as possible.
- Label and date the pouches and let the bags cool completely. Give the seal a little test by slapping the bag. If you see or hear air coming out the top, it’s not sealed. Give it another minute under the iron.
- You can store the bags as they are on your shelf or place them in a bucket. Again, because I like to be safe than sorry, when putting anything in the buckets, I sprinkle a little food-grade DE (diatomaceous earth) in the bottom of the bucket. Then add your bags.
Store your bags in a dry, cool place with minimal light. It’s a good idea to check the quality of your storage practices by opening a bag now and then and making a meal with the food you’ve stored. It’s impossible to know if you’ve got a pest infestation until you’ve opened the bag. If you discover a problem or find the food is stale, recheck your procedures. It’s better to find out now rather than when you are dependent on the food you’ve stored.